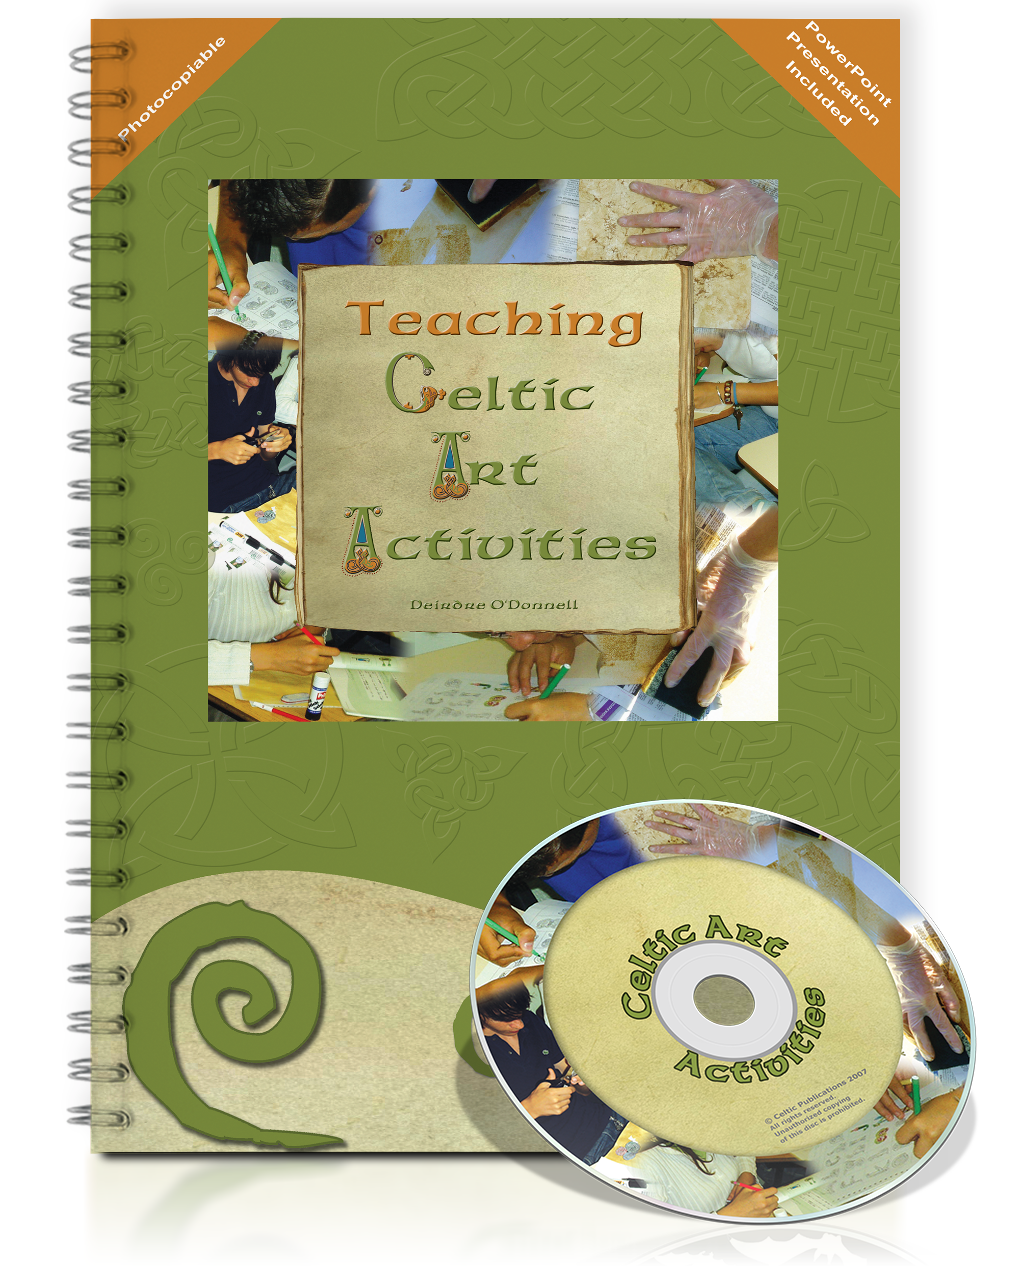
Celtic Art Activities - Teacher's Book Downloadable
Physical book — posted to you
Estimated delivery dates are shown below.
Estimated delivery if you order today
- Ireland: 2–3 working days
- Rest of world: up to 14 working days
Working days, Monday to Friday. Ireland is where the item is in stock.
- Secure payment — card details go straight to Stripe
- Irish publisher — TEFL Resources, Dublin
- Fast dispatch — 2–3 working days in Ireland
Returns & refunds
Not happy? Contact us within 14 days of buying to arrange a return. Books must be unused and in perfect condition. Please get our OK before posting anything back. Faulty or damaged items are always covered by your statutory rights.
Read the full returns policyAbout this title
Teaching Celtic Art Activities
Don't worry if you are not a fabulous artist – you don't need to be as there are loads of letters and designs you can copy for your students to cut out and paste onto their projects.
This publication comes with a Clipart Art Images plus Demonstration plus Video CD (PowerPoint and Windows Media) to help you to teach to your students how to make the projects in a single afternoon!
It shows you how you can keep your students busy, for very little cost. Its a great hands-on activity, minimum teacher input and makes writing exercises real fun to do and will be an excellent indoor activity for rainy days!
The demonstration CD has loads of PHOTOCOPIABLE Celtic designs and letters and a list of websites for FREE downloadable fonts with a Celtic flair.
There is also a section to show students how to make parchment paper. If you are going to do this and use the parchment paper for making diaries or posters or whatever, you will really need to make this a day or two before the class so that the pages are fully ready before using them for their Celtic art projects.
Students will love doing this and it is just fabulous for letting them experience the art of Celtic lettering and design and for having something to take home as a memory of their time spent learning English in Ireland, especially for the younger ones to show their parents who may have spent quite a lot of money sending them here!
Making Parchment Paper for Class Projects
If you have a class of students who are learning English in Ireland or whom you want to include some Irish culture activities you can teach your group how to make home-made parchment paper very easily with the help of a new publication called Teaching Celtic Art Activities. A demonstration CD is attached in this book showing the equipment needed, how to make the parchment paper and hundreds of illustrations and Celtic lettering to use in projects.
If you have a small group you can do a live demonstration yourself. You just need some plain white paper, some coffee or tea to colour the paper, and some things you would normally find in a kitchen. We have listed the things you need below. Coffee has a darker colour but you can also use tea bags. If you use tea bags, let them soak in warm water until the water is as dark as possible.
Equipment needed:
- old newspapers
- rubber gloves
- spoons
- some coffee (or tea bags)
- warm water
- bowls
- sponges
- white paper
- Optional:A lighter, matches or a lit candle (the best) to slightly burn the edges for an old parchment look.
NB: if your group are young children or teenagers, this activity must be supervised at all times! Place the candle on the centre of a table and make each person come to the table. Do not let students walk about with the candle from table to table or classroom to classroom. A candle is best as it saves using lots of matches. Do not let students use any other form of naked flame. Be very strict with this especially with teenagers, who may have their own cigarette lighters with them.
Method and Demonstration:
If your group is small you can actually demonstrate this by using the method below. (Try it out in your own time first!) If you have a larger group it will be easier to divide the groups and demonstrate to one group at a time. The other groups can be planning their projects or colouring the letters and designs until it is their turn to see the demonstration. You can also show groups the method and demonstration using the PowerPoint Display CD attached in this book.
-
- Wear rubber gloves to protect your hands from coffee or tea stains.
- Spread the old newspapers onto a table or onto the floor.
- Place the white paper onto the newspapers.
- Put a few spoonfuls of coffee or a tea bag into a bowl.
- Add some warm water to dissolve the coffee/soak the tea bag.
- Mix the coffee/tea and water together until dissolved.
- Dip the sponge into the coffee/tea coloured water.
- Squeeze the sponge so that it is not dripping with the coloured water. (Do not use too much water as this might rip the paper.)
- Rub the sponge, lightly and gently, all over the white paper in different directions. Cover all the paper from corner to corner. Turn the paper over and cover this side also.
- Carefully lift the coloured paper off the newspaper and very gently scrunch the paper in your hand.
- Carefully unfold the paper and lay it down flat again on the newspaper. This helps to make the paper look very ancient!
- Leave the paper to dry overnight. If it is a very warm day, leave in the sun to dry for an hour or two.
- While the paper is drying the students can be planning their projects and colouring the letters and Celtic designs.
- The parchment paper is now ready to use.
- You can also use a lit candle and carefully burn the edges of the pages slightly to give the pages a very old look.
- Be very careful with fire!